Garage Drywall Taping Services Overview
This page helps property owners learn about garage drywall taping services and compare local contractors who provide this work.
- - Residential homeowners seeking professional drywall taping services for garages.
- - Commercial property managers needing reliable drywall finishing for large or multiple garage spaces.
- - Contractors looking to connect with local drywall taping specialists for garage renovation projects.
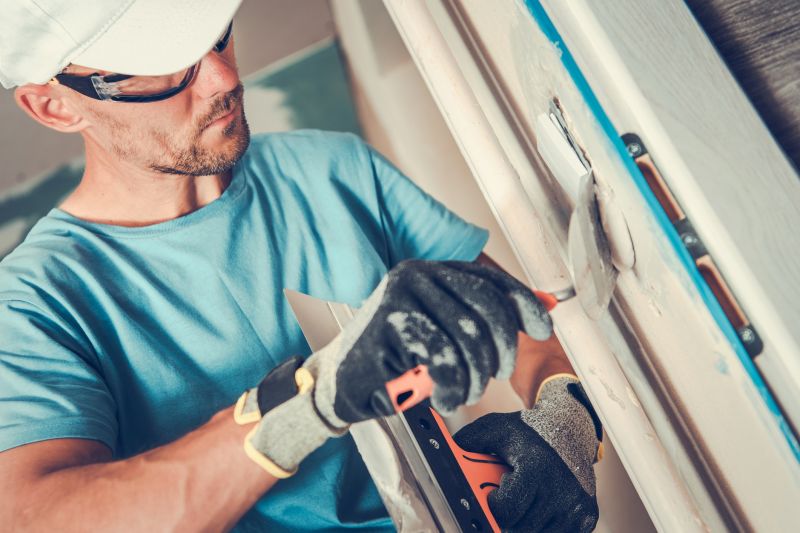
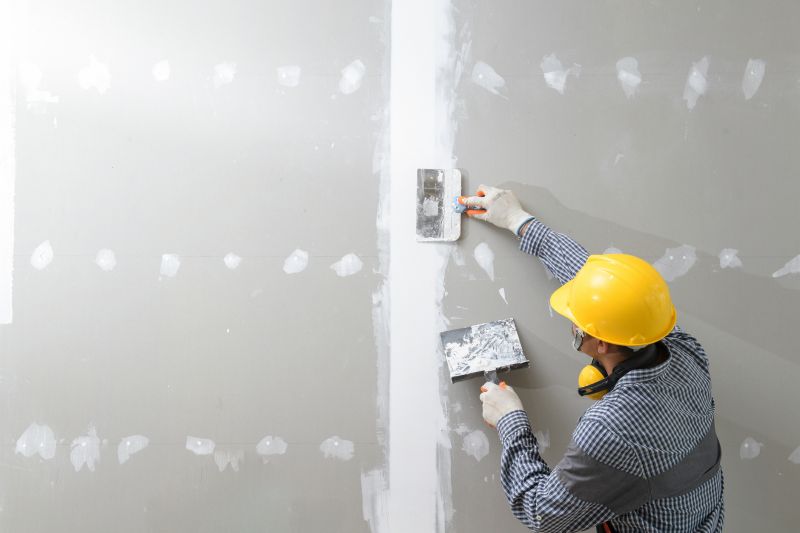
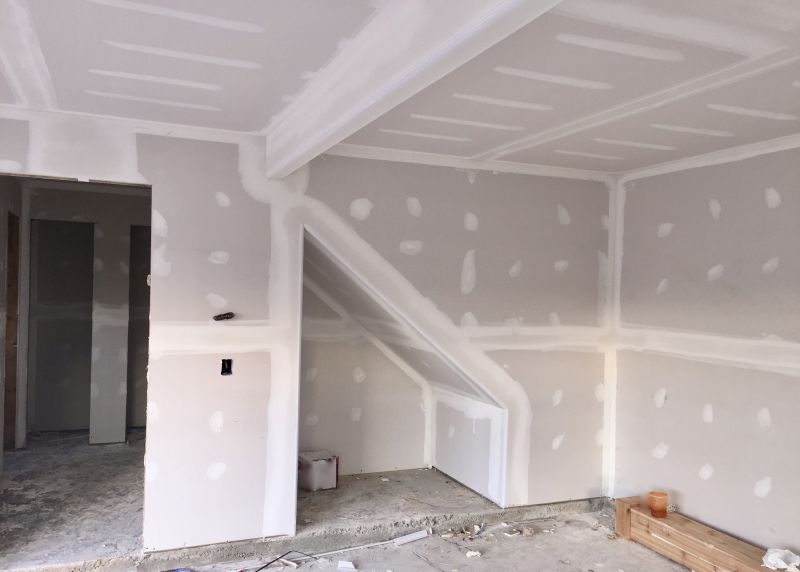
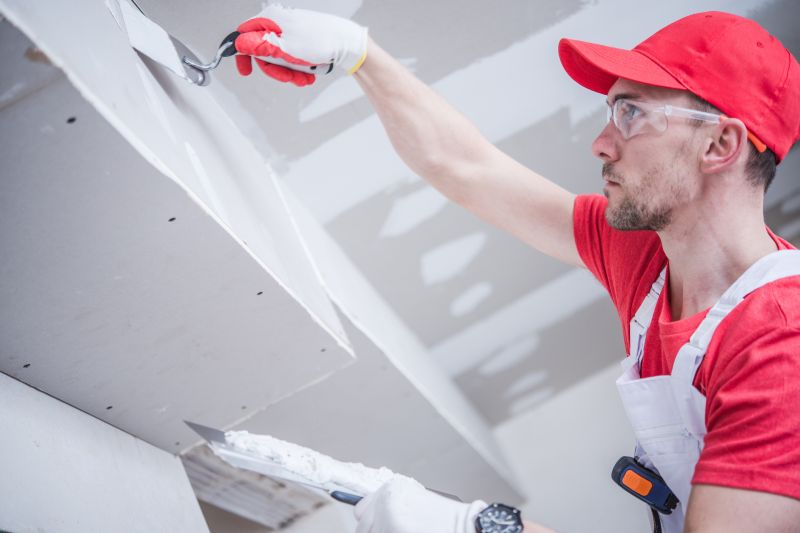
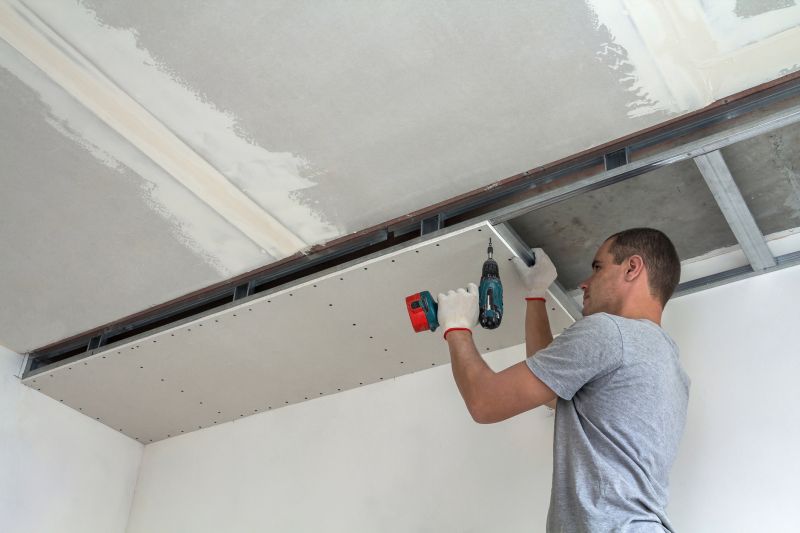
Garage drywall taping services are essential for creating smooth, seamless wall and ceiling surfaces in residential and commercial properties. Local contractors specializing in drywall taping typically handle tasks such as applying joint tape, finishing drywall seams, and preparing surfaces for painting or finishing. Property owners often seek out these services when renovating, repairing damage, or completing new construction projects, ensuring that the drywall is properly finished for a polished appearance.
These local service providers are experienced in managing various drywall taping needs, from small repairs to large-scale installations. They work with property owners to deliver professional results that enhance the overall look and durability of interior walls. Connecting with nearby drywall taping specialists can help property owners find the right expertise for their specific project requirements.
This guide provides helpful information to understand the drywall taping process for garages. It assists in comparing and connecting with local contractors who offer drywall finishing services. The content aims to help visitors prepare for their projects by understanding what to expect from local service providers.